Building a Dynamic Date Calculator 🗓️
Today, I embarked on an exciting project to deepen my understanding of state management, component interaction, and conditional rendering in React. The project goal was to create a dynamic date calculator that adjusts dates based on user input. Here are the key takeaways and highlights of my learning experience:
Key Learnings:
1️⃣ State Management: Learned how to manage multiple states for step, count, and date using React’s useState hook.
2️⃣ Component Interaction: Explored passing state and functions as props to child components for effective interaction.
3️⃣ Conditional Rendering: Implemented dynamic messages that reflect the number of days from or before today.
Hands-on Practice:
• Dynamic Date Calculation: Created a function to add days to the current date and update the display based on user input.
• Interactive UI: Built an intuitive interface with buttons to increment/decrement the count and step values.
• Conditional Messages: Displayed contextual messages that change based on the count, showing future or past dates.
Project Breakdown:
App Component
The App component serves as the root and wraps the Counter component.
import "./App.css";
import { useState } from "react"; function App() { return ( <div className="container"> <Counter /> </div>
 );
}
Counter Component
Manages the core logic for counting days and updating the date.
function Counter() { const [step, setStep] = useState(1); const [count, setCount] = useState(0); const [date, setDate] = useState(new Date()); const addDaysToDate = (date, days) => { const result = new Date(date); result.setDate(result.getDate() + days); return result; }; const incrementCount = () => { setCount((s) => s + step); setDate(addDaysToDate(new Date(), count + step)); }; const decrementCount = () => { setCount((s) => s - step); setDate(addDaysToDate(new Date(), count - step)); }; const incrementStep = () => { setStep((s) => s + 1); }; const decrementStep = () => { setStep((s) => s - 1); }; return ( <> <Title date={date.toDateString()} count={count} />
 <Step step={step} incrementStep={incrementStep} decrementStep={decrementStep} />
 <Count count={count} incrementCount={incrementCount} decrementCount={decrementCount} />
 </>
 );
}
Title Component
Displays the current date with a dynamic message based on the count.
function Title({ date, count }) { let message; if (count < 0) { message = `${Math.abs(count)} days before today was ${date}`; } else if (count > 0) { message = `${count} days from today is ${date}`; } else { message = `Today is ${date}`; } return <h1>{message}</h1>;
}
Step Component
Handles the step value adjustment.
function Step({ step, incrementStep, decrementStep }) { return ( <div> <p>Step: {step}</p>
 <button onClick={incrementStep}>+</button>
 <button onClick={decrementStep}>-</button>
 </div>
 );
}
Count Component
Manages the count value adjustment.
function Count({ count, incrementCount, decrementCount }) { return ( <div> <p>Count: {count}</p>
 <button onClick={incrementCount}>+</button>
 <button onClick={decrementCount}>-</button>
 </div>
 );
}
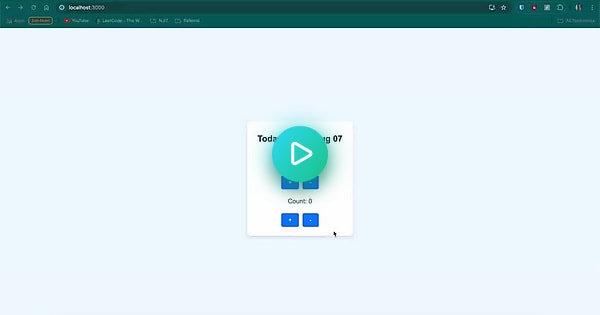
You can view working of the project here:
Conclusion
This project was an excellent exercise in understanding and implementing React state management and component interaction. It allowed me to create a practical application while reinforcing core React concepts. I’m excited to apply these learnings to more complex scenarios and continue my journey in mastering React!
Stay tuned for more updates on my learning journey! 🚀
Stay updated with my progress by following my LinkedIn and GitHub for detailed posts and code samples.

